


| ITEM | STATUS | ICON |
Panel | Normal |  |
Set |  | |
Partially Set |  | |
Alarmed |  | |
Troubles |  | |
Unknown |  | |
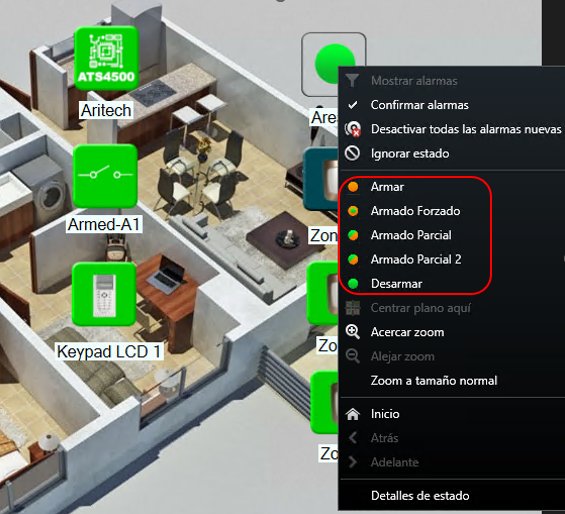
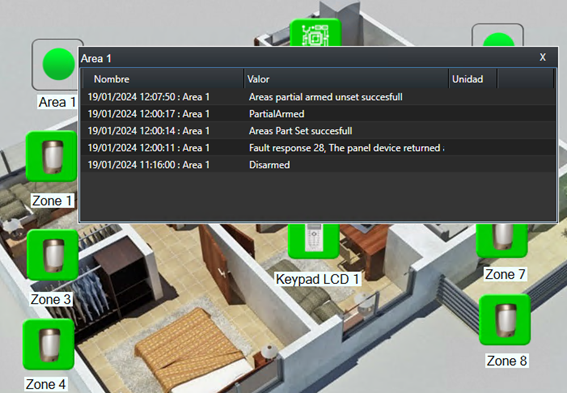
Area | Normal |  |
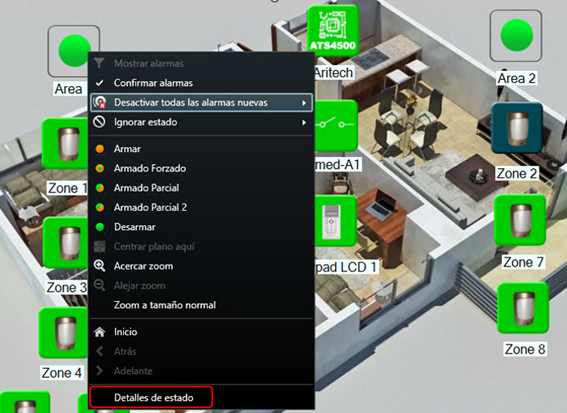
Set |  | |
Alarmed |  | |
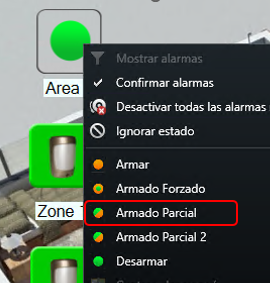
Partially Set |  | |
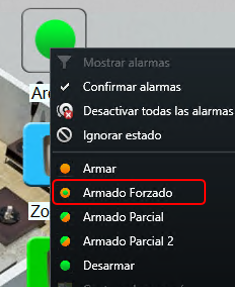
Forced Set |  | |
Unknown |  | |
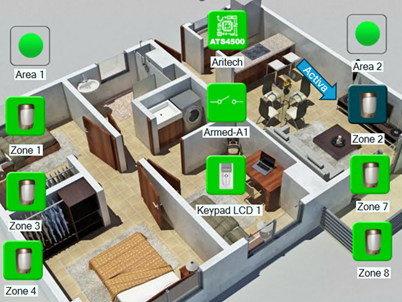
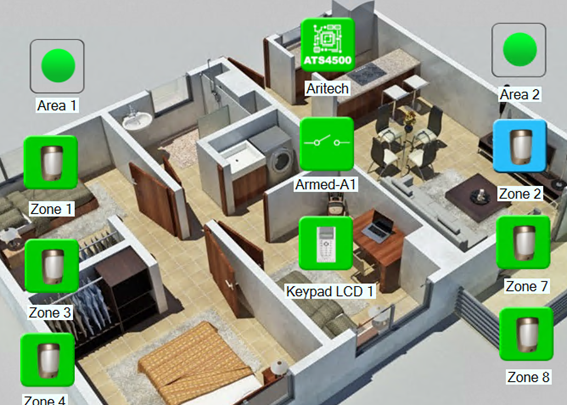
Zone | Active |  |
Normal |  | |
Set |  | |
Alarmed |  | |
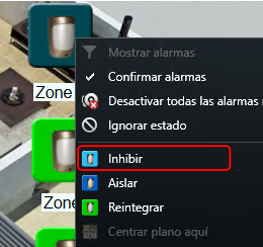
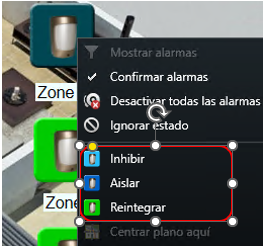
Inhibited |  | |
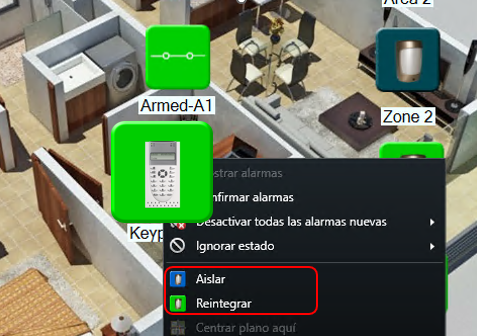
Isolated |  | |
Tampered |  | |
Troubled |  | |
Unknown |  | |
Outputs | Activated |  |
Deactivated |  |


| ITEM | STATUS | ICON |
Panel | Normal | |
Set | | |
Partially Set | | |
Alarmed | | |
Troubles | | |
Unknown | | |
Area | Normal | |
Set | | |
Alarmed | | |
Partially Set | | |
Forced Set | | |
Unknown | | |
Zone | Active | |
Normal | | |
Set | | |
Alarmed | | |
Inhibited | | |
Isolated | | |
Tampered | | |
Troubled | | |
Unknown | | |
Outputs | Activated | |
Deactivated | |